Password Protecting Custom WordPress Templates
When creating custom WordPress templates, there are some instances where you do not want to add code, text, etc., in the WordPress content area. If you wanted to hide what was on your page, normally you would just use “Password Protect”.

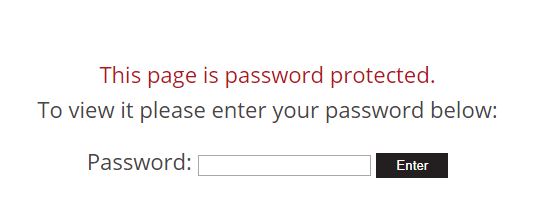
When using “Password Protect” in WordPress, only the content area is password protected by default.
However, to choose what you want to password protect, we can update the template like so.

Essentially when the page loads, the code will check whether the password has been entered or not. If it has not been entered, the form will show; otherwise, the code or whatever you wanted to hide will be displayed.
How to Update Default Password Protected Text in WordPress
WordPress gives you a generic form with text when adding the password-protected area. There are a few ways to update the area, but If you wanted a quick and easy way, add these few lines of jQuery.

This essentially targets the first p tag (using the snippet of code above with the container div) that the default WordPress password protected text displays. You can style the text as you please by adding a span tag, etc.

This is a simple and easy way to update a template and adjust the password-protected area. If you need help creating a new site or updating your current website, contact PaperStreet Web Design.


