How to Restrict User Access in WordPress

When you download WordPress and start to build your website, your first user is automatically set as an Administrator. A WordPress administrator is the most powerful user role that gives you control of the entire website (we are not including Super Admin in the article but you can see its capabilities here). When creating more users, you have the option to choose four more roles. The default user roles that WordPress provides are:
- Administrator (automatically created when WordPress is installed)
- Editor
- Author
- Contributor
- Subscriber
A Brief Overview of WordPress User Roles
Administrator
As noted above, being an administrator gives you control of the entire site. You have the ability to add new users, posts, delete posts, plugins, themes, etc.
Editor
As an editor, you have options to add, edit, and delete posts (your posts and others). An editor cannot change site settings, plugins, etc.
Author
For the most part, an author is confined to their own posts. Authors have the same limitations above, but they cannot create categories.
Contributor
Contributors can add and edit posts they have created, but they cannot publish them. There are also limits placed on uploading images and files to the site.
Subscriber
A subscriber is a very basic user role that is primarily used for adding comments or reading a post, if a login is required.
You can click on the link below for more information about these user types:
https://wordpress.org/support/article/roles-and-capabilities/
What About More Advanced Ways to Restrict Users in WordPress?
There are two plugins you can use that can assist you in customizing your WordPress users: the Restrict Categories plugin and the User Role Editor. Both of these plugins can help you restrict access to only posting in certain categories or accessing certain areas on your website.
Restrict Categories plugin
WordPress was originally created as a blogging platform. That said, there may be some instances where you want to restrict a user to having the ability to only post in certain categories on your website. The Restrict Categories plugin gives you the ability to customize your users based on your websites categories.
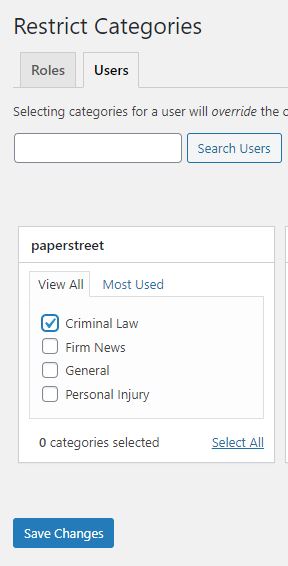
Once installed. You can select the roles or users you want to restrict categories too.
Example – Restrict a user to only adding posts in a certain category
If we wanted to only allow our “paperstreet” user to post in the “Criminal Law” category, we would select the following below and save the changes.
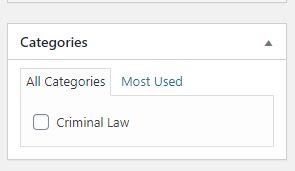
Then when we get to add a new post with that user, you will only have the option to post in that category.
This is a great simple plugin you can use to differentiate users’ access on your website based on your categories. If you want a more advanced way to curb access on your website, the User Role Editor Plugin is a great option.
User Role Editor by Members
Once you have installed the plugin, you will have the ability to add more roles to your website. Some examples include access-only permission to your WordPress newsletter platform (or mostly any other plugin you have installed), updating your websites plugins, editing posts/pages, managing your SEO, and viewing/updating your media section.
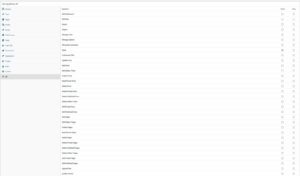
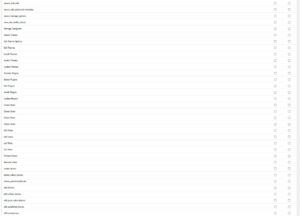
The two images below show some of the ways you can set roles with certain limitations (click to enlarge the images).
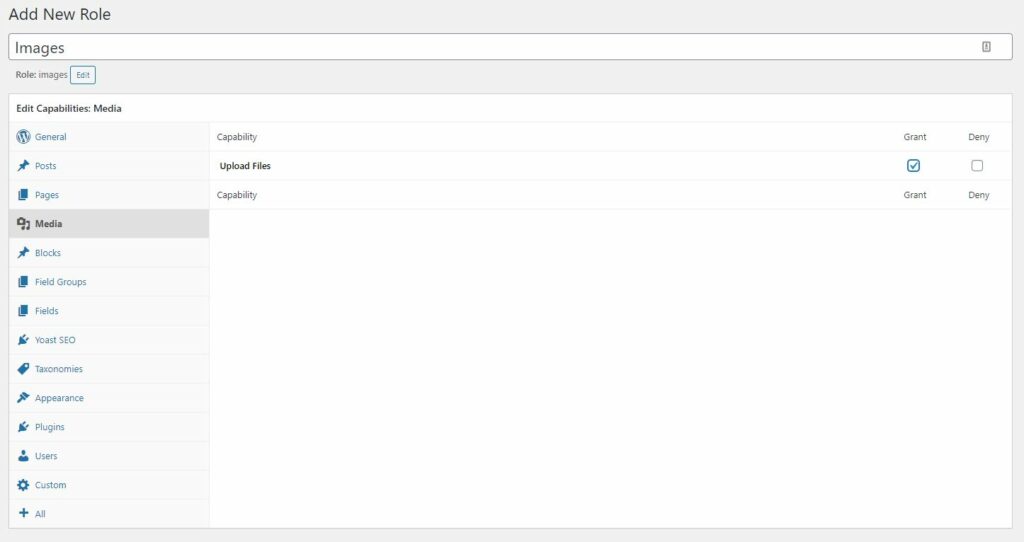
Example – Restricting users to only viewing and uploading images to a website (aka the media section).
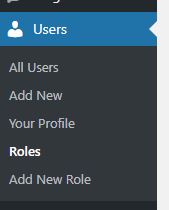
Step 1 – Create a new role called “Images.”
Step 2 – Assign the user to the new role.
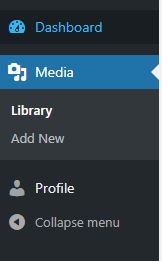
Once that user is created, you can log in and see they have access to the image area (other than their profile area).
This is just one of the many options the User Role Editor provides to tailor your users’ access on your WordPress website.
Conclusion
There are many different options for limiting users with both of these plugins. Using one (or both) can help you manage your website more effectively without worrying about your users accessing all areas of your website.


