How To Search and Add Subscribers in MailChimp (We Swear It’s Easy!)
How to Search, Find and Update an Existing Subscriber in Mail Chimp
Let’s set the scene: you’ve finally compiled your email marketing list and successfully uploaded it to PaperStreet’s favorite newsletter platform – MailChimp.
Congrats! It passes their guidelines, but drats … a few more email addresses just came in to add to your list and you need to update a client’s information with their new email. Do you have to edit and upload your entire list again?! Of course not, that would be bananas.
Keep reading to learn how to search, find and update an existing subscriber, or add a brand new email.
Searching for a Subscriber
MailChimp offers a nifty tool that allows you to quickly search for a subscriber’s information within an already existing list. The tool can really cut down on time when you need to update one piece of information.
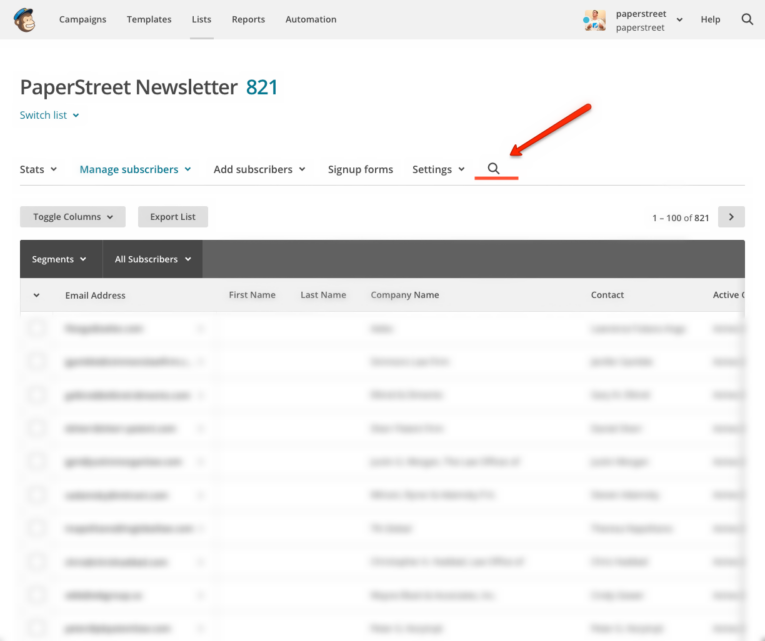
First, select the list you want to search; once you have chosen, click on the little magnify glass on the upper right:
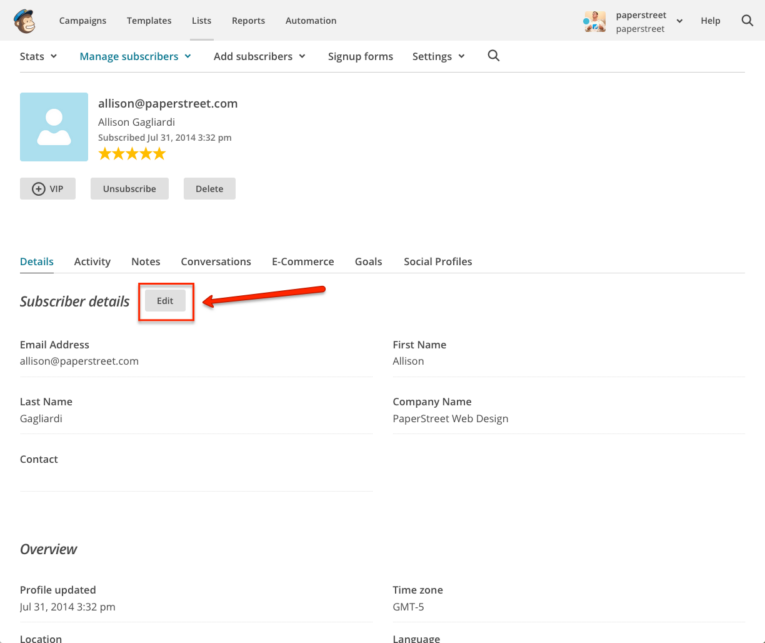
Type in the name or email for the person you want to update (the information you type in will depend on what you included with your initial list upload). Next, click on “view profile” for the correct person:


This will take you to “Subscriber Details”; click on “edit” and voila! You can update the subscriber’s name, email information, and company.
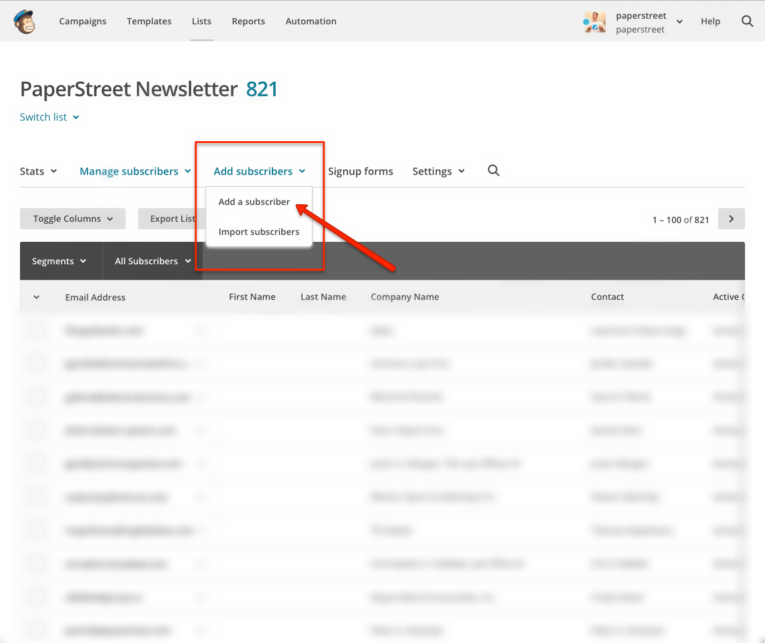
Adding a New Subscriber
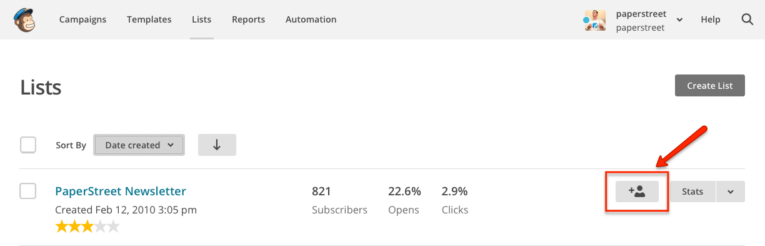
There are two easy ways to add a new subscriber’s information to an already existing list. Your first option is to click on the button resembling a “+ person” next to the list you want them added to:
Then add in your new subscriber and you’re done!
Not sure if you might have already added the email? No worries, MailChimp will let you know if it’s a duplicate.
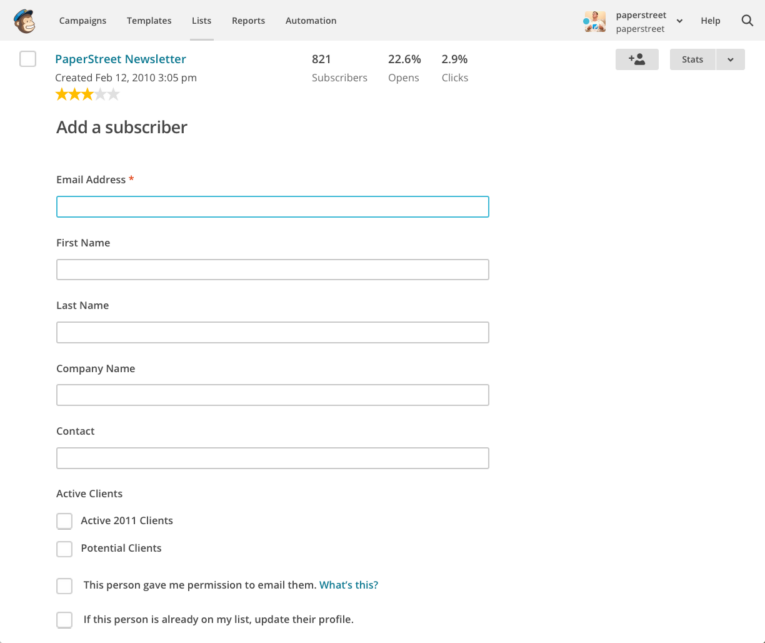
Your second option is to click the “add a subscriber” button within the actual list – it does the same thing without the cool “+ person” icon:
Now quit monkeying around and go try for yourself!
What you should do next . . .

Nothing is impossible, so try, try, then try again. When the task feels impossible, come back to it with a new perspective.
Join our newsletter, where you will learn educational info on latest insights, tips and best practices.
Share:
About Us
Did you know more than 200 clients have worked with PaperStreet for more than 10 years?
Get a Free Website
Analysis and Consultation
Marketing Services