How to Transfer Your PHP/MySQL Site to XAMPP for Local Development and Debugging

By Chris on August 7, 2019 in PaperStreet
About six months ago, PHP 5.6 reached End-Of-Life, which means that for the months before December 2018, I was tasked with updating code on some sites that were not PHP 7.2 compliant. To do this without affecting the live site, a copy of the site is made, recreated locally, debugged, tested and updated, and then transferred back to the live site. So how exactly is this process accomplished? XAMPP is the bread and butter behind this type of upgrade.
Step 1: Get Copies of Files and Database
The first step of the process is to download XAMPP. You can also use MAMP or WAMP, but in this guide, I will be using only XAMPP as it is cross-platform. Installing XAMPP is relatively simple, once you download it go through the installation wizard until it is complete. Once XAMPP is fully installed, let’s test to make sure everything is working properly. Open the xampp folder (default for windows is C:\xampp, but it could be different if you changed it during installation), and launch the xampp-control file.
Once you have XAMPP set up on your site, the next step is to export a copy of your database through phpMyAdmin. It is possible that your site doesn’t use a database at all, if that is the case you can skip to the next section.
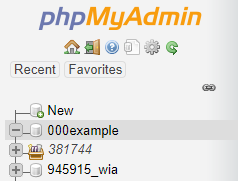
- Sign in to phpMyAdmin and select the database you want to export.

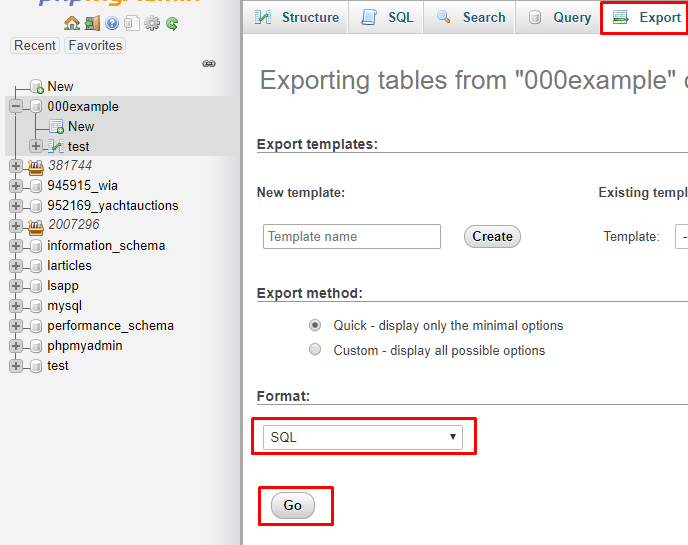
- Click the export tab, set the format as SQL, and press Go
- Move the file to a folder that will contain a backup of the files and folder. (C:\Users\##YOURNAME##\Desktop\Backup\)
Now that you have a copy of your database, all that is left is to grab a copy of all your files from your server. You will need FTP access to do this, and an FTP client, we suggest Filezilla. Using Filezilla, enter your FTP credentials and create a connection to your server. Simply download all the files from your root level connection and save it into the backup folder (C:\Users\##YOURNAME##\Desktop\Backup\).
Step 2: Add Files and Database to XAMPP
Now that we have everything needed to recreate the site locally, we can start working with XAMPP. The first step is to copy the files from (C:\Users\##YOURNAME##\Desktop\Backup\) into your XAMPP htdocs folder, inside of a test folder (C:\xampp\htdocs\test\).
With the XAMPP Control Panel open, start Apache and MySQL, then click the Admin tab on MySQL. 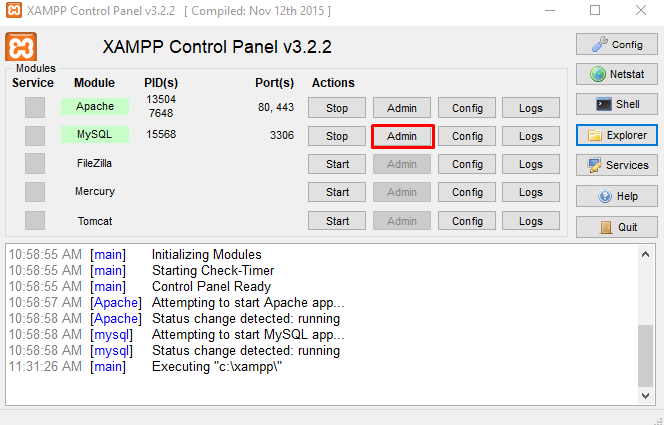
Once phpMyAdmin is open, create a new database with the same name as the live database, in my scenario, it will be 000example. 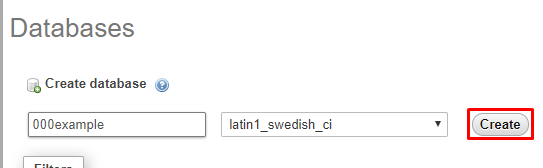
On the sidebar, click the newly created database and click the import tab. With the import tab open, select the.sql file and press Go at the bottom. This will complete copying the database locally.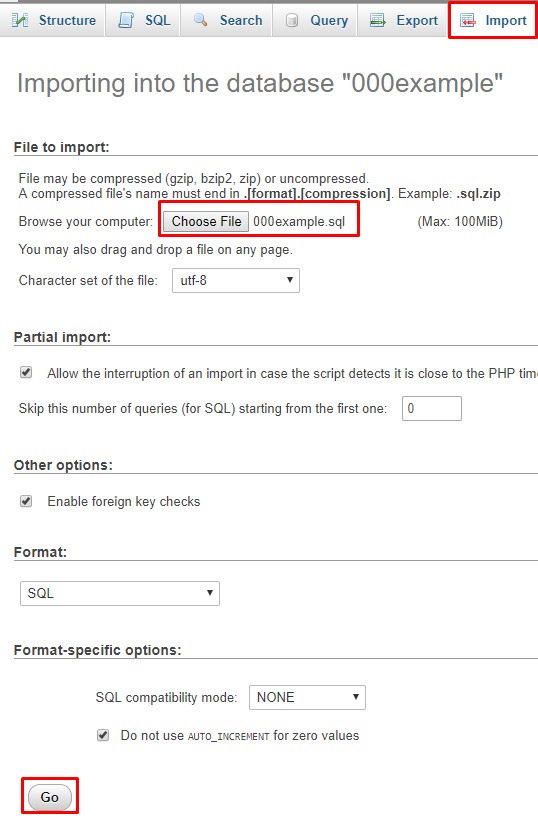
Step 3: Setup Virtual Environment
Now that we all of our files and database setup, we need to create a virtual domain for the site. Open up C:\xampp\apache\conf\extra\httpd-vhosts.conf. At the bottom of the file add the following code:
<VirtualHost *:80>
DocumentRoot “C:/xampp/htdocs/”
ServerName localhost
</VirtualHost>
<VirtualHost *:80>
DocumentRoot “C:/xampp/htdocs/test/”
ServerName testapp.build
</VirtualHost>
Finally, for the last step, open up Notepad as an administrator and open C:\Windows\System32\drivers\etc\hosts. At the bottom of the file, add the following:
127.0.0.1 localhost
127.0.0.1 testapp.build
Now that everything is set up, we can open up our browser and visit testapp.build, and we can see our local site. Here we can make changes to the site without worrying about affecting the live site!
Note, if you have database connection issues, you will need to locate the database connection file within your project and update the connection. If you are using mysqli to connect to your database, your connection should use the following: mysqli_connect(‘localhost’, ‘root’, ”, 000test’)